
All images are located in Images Library so they can be published (referred to) on any page of your job board application. Image file types include: JPG, GIF, PNG.
To store and link non-image files use Files Library instead.
Contents1. Images library |
Images library
Navigate to Images Library
The following buttons are available:
- New image:

Upload a single image into selected folder. System allows following image file types: PNG, GIF, JPG.
Opens upload dialog screen: browse for file to upload from your computer and supply image description if required -> click on Add Image.
- New images set from zip archive:
Bulk import several images from a zip archive into selected folder. Browse zip archive and click Add Image.
- New folder:
Create a new folder and give it a unique name (e.g., slides, etc.) Go back to main Images Library directory, click on your newly created folder and upload images into this specific folder.
All additional folders also include following 3 buttons:
- Rename folder:

- Move folder:

- Delete folder (with all content inside):

- Export (Images Library): exports your full Images Library into one single zip archive.
Image upload & editing via WYSIWYG editor
Example: banners editing screenshot
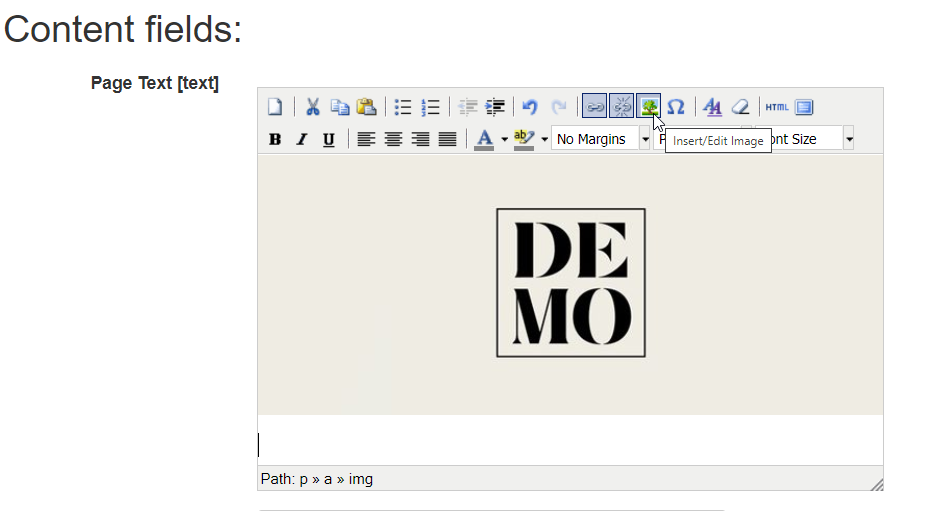
1.1 Select existing image to edit or focus cursor on text area part to add new image to.
1.2. Click Insert / edit image button  .
.
Following Image Properties dialog screen will pop-up*:
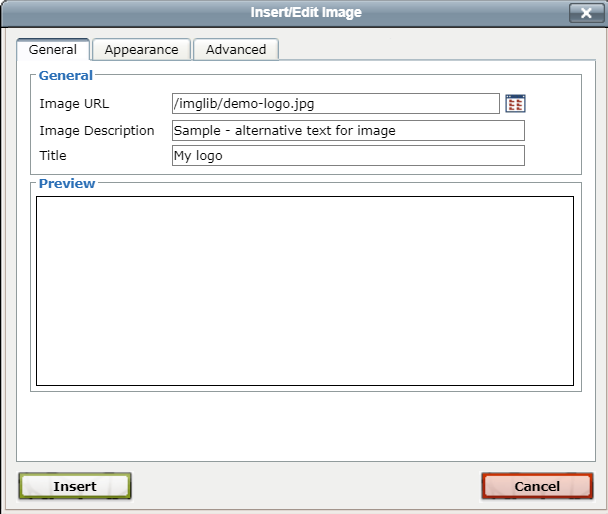
*If the pop-up won’t show up, make sure you have allowed pop-ups for this website via pop-up blocker.
1.3. Browse image  in Images Library:
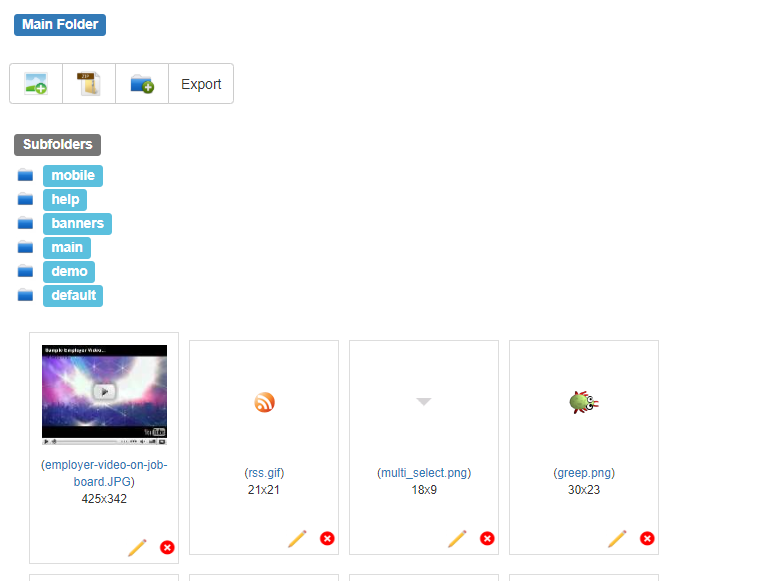
1.4. Image insert choices:
1.4.1. Upload new image: .
Image upload dialog screen: browse for file to upload from your computer and supply image description (for Images Library only) if required.

1.4.2. Or click on already uploaded and existing image to insert it:
system will close Images Library window and supply URL to Image URL field.
1.5. Save Image properties: Insert button. System will close pop-up window and populate WYSIWYG screen with new image settings.
1.6. Supply URL for the image if needed.
1.6.1 Select existing image in WYSIWYG field (click on the image so it is highlighted) and click on the Insert/Edit Link icon
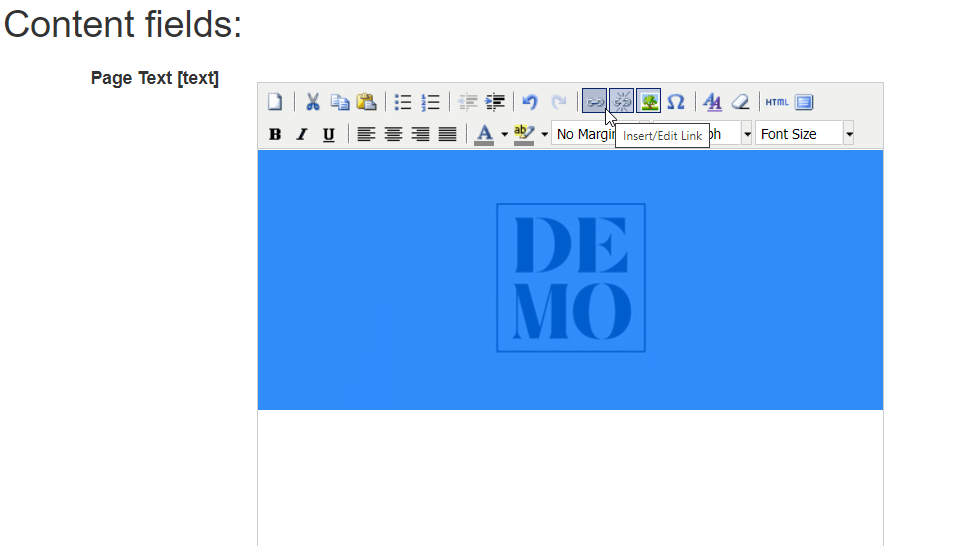
1.6.2 Following Insert/Edit Link dialog screen will pop-up*

*If the pop-up won’t show up, make sure you have allowed pop-ups for this website via pop-up blocker.
1.6.3 Supply absolute URL (beginning with http:// or https://), title, add class (if needed); choose if you want the URL to open in the same tab or in a new window after clicking on the image and hit Insert button.
1.6.4 System will close pop-up window and populate image with new URL settings.
1.7. Save WYSIWYG field changes: 
Image upload & editing via image choice field
Example: image URL update via image choice field (for example: Featured Employers)
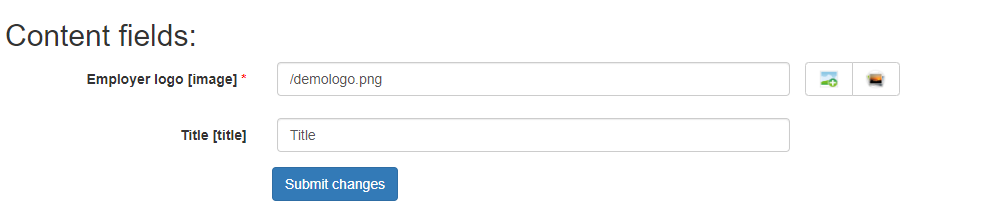
2.1. Supply new image URL or browse for image in your job board software Images Library via icon.
2.2. Select existing image from Images Library or upload new one.
2.3. Upload a new image: .
Image upload dialog screen: browse for file to upload and supply comments if required.
2.4. Save changes:
Notes
- Please do not use special characters in filenames like spaces or “!”, “#”, “$” etc. Replace it with “_” or “-“.
- To store and link non-image files use Files Library instead.