Contents1. Create a client ID in Google API Console |
Create a client ID in Google API Console
1. Open the Google API Console Credentials page.
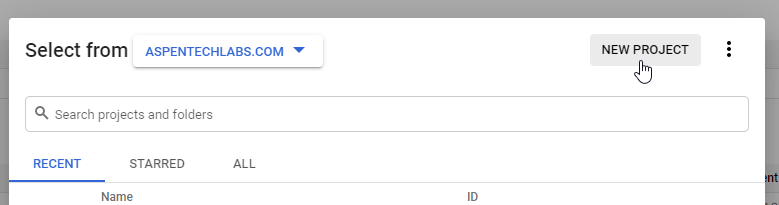
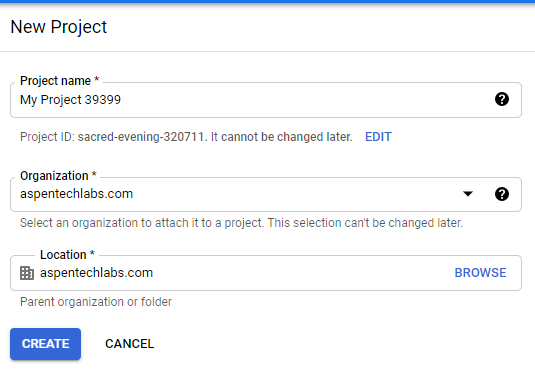
2. Click Select a project at the top, then NEW PROJECT, and enter a name for the project. Click Create.
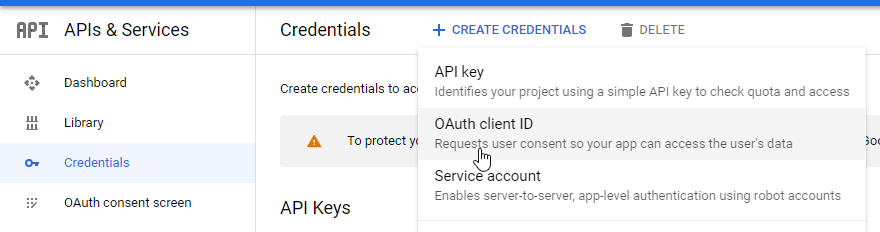
3. On the Credentials page, select Create credentials, then OAuth client ID.
You may be prompted to set a product name on the Consent screen; if so, click Configure consent screen, supply the requested information, and click Save to return to the Credentials screen.
4. Select Web Application for the Application Type. Provide a Name. In Authorized JavaScript origins and Authorized redirect URIs put your job board URL (starting with https://) – e.g. https://demo.jobboardmount.com
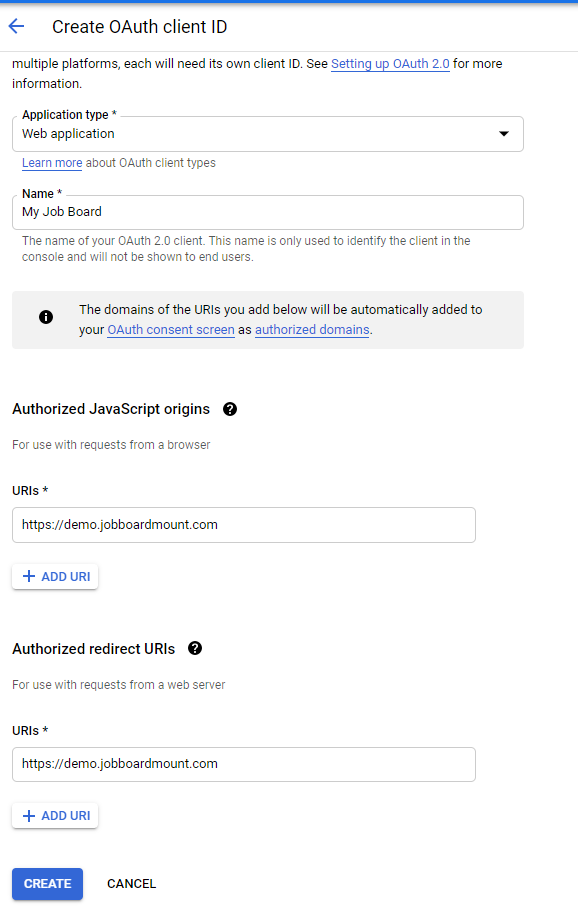
Click Create.
5. On the page that appears, copy the client ID to your clipboard, as you will need it to configure login & registration in job board admin

Configuration in job board admin
1. In admin navigate to
Settings: Forms & search: Employer: Employer profile
and/or
Settings: Forms & search: Candidate: Candidate profile
2. If the following field is already present on the candidate/employer forms in admin, skip to step 5. If not, proceed to step 3

3. At the top, choose Social Network ID as field type and click ADD
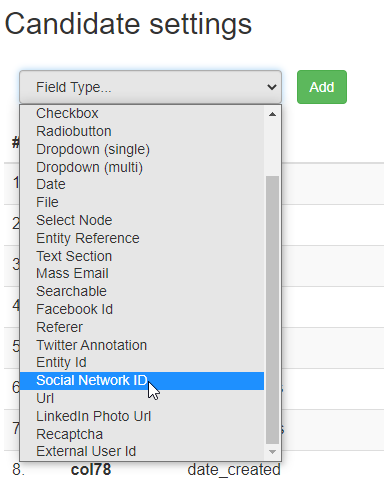
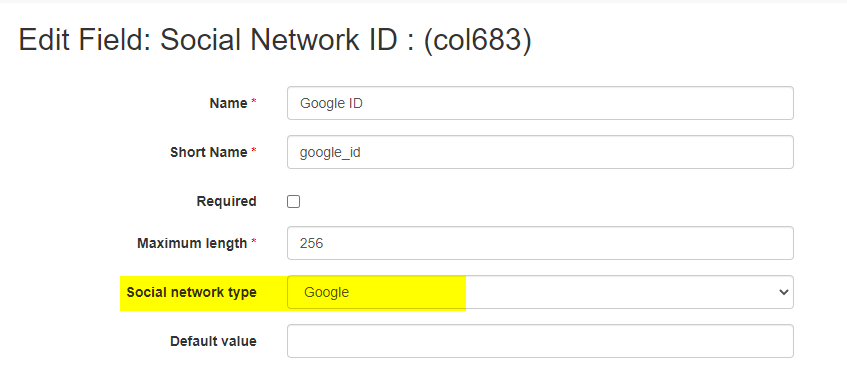
4. Call it Google ID with shortname google_id. In Social network type field – select Google. Click SAVE at the bottom.
5. Navigate to
Settings: General parameters
6. Find the field called Google client id [google_client_id] and type in the client ID you obtained from Google API Console (step 5 from here)
Note: if the Google client id [google_client_id] is not present in General parameters of your job board, contact your account manager to add it
Click SUBMIT CHANGES at the bottom.
Customization options for the Google button
There are a few button customizations available, provided by Google. These include the following: theme (dark or light), width and height of the button.
1. In order to change this, navigate in admin to
Settings: Application messages
2. Type style.button.googleIn and hit SEARCH to find the required app message
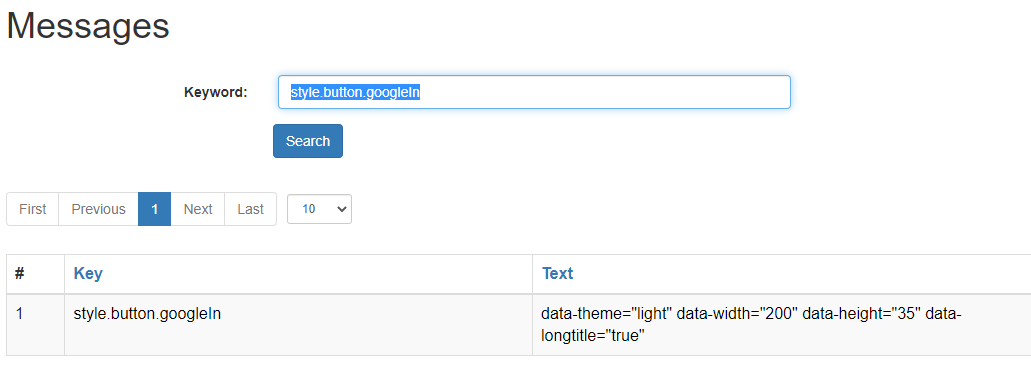
3. Change data by clicking on the text (do not change the key).
You can edit the following values in bold:
- data-width=”200” – the width of the button on the login/registration forms;
- data-height=”35” – the height of the button on the login/registration forms;
- data-theme=”light” or data-theme=”dark” – two available themes provided by Google.
Dark theme:
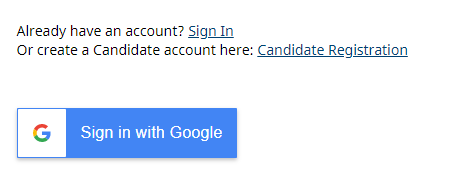
Light theme: